Do this now
Follow these steps in order.
- 01
Confirm the exact phone model and whether it is carrier-locked.
- 02
Check the mobile bands and eSIM or physical-SIM capability required by your chosen provider.
- 03
Decide whether you need data only, ordinary calls and SMS, tethering, or all three.
- 04
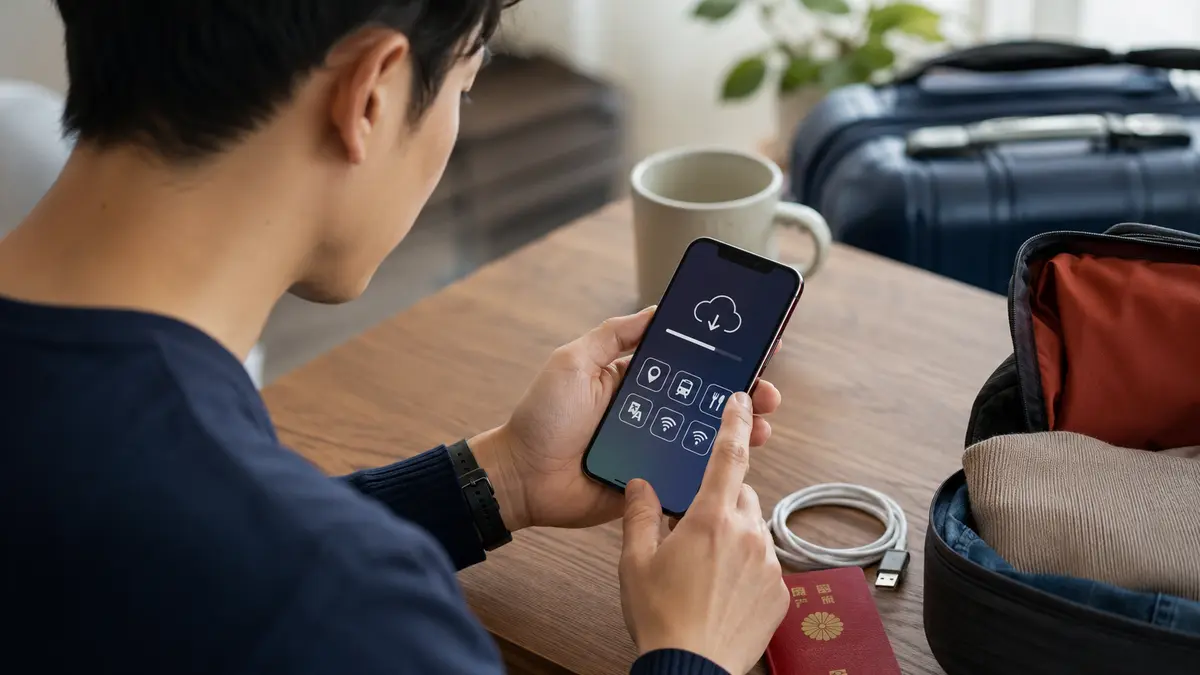
Install required profiles or apps while you still have reliable internet, following the provider’s activation timing.
What to know
Device support and plan support are different
An eSIM-capable phone can still be locked to a home carrier, and a compatible phone can still be on a plan that excludes Japan. Verify the model, lock status and service terms separately.
What to know
Data-only plans change how you call
Many travel connectivity products focus on data. If you need to receive verification texts, call a hotel or maintain your home number, check how dual-SIM use, roaming charges and internet calling will work on your device.
What to know
Set up a recovery path
Save provider instructions before flying. Do not delete an eSIM while troubleshooting unless the provider explicitly tells you to; some profiles cannot simply be reinstalled.
If that does not work
Use the fallback.
- Use trusted airport, station or hotel Wi-Fi to open saved provider instructions.
- Keep roaming disabled until you understand your home carrier’s charges, but know where to re-enable it if it is your emergency backup.
Before you need it
Save this offline.
- Provider installation guide
- eSIM QR or account access as permitted by the provider
- Hotel address and airport route
- Device support contact
Primary evidence
Official sources used
Open these pages again before travel. External links lead to the responsible Japanese authority or transport organization.